Back to Blog

Tips and Tricks for Installing Your ALIGN Technology Grips

Ribbed or reminder golf grips are not a new invention. For decades, players at all levels have used ribbed grips on their clubs to help ensure consistency – a ‘reminder’ of where their hands go for best performance.

Until recently, though, that ‘rib’ was built into the interior of the grip and was never visible to the naked eye. You could feel the rib once the grip was installed on a shaft, but there was no easy way to tell whether the grip had been installed properly.

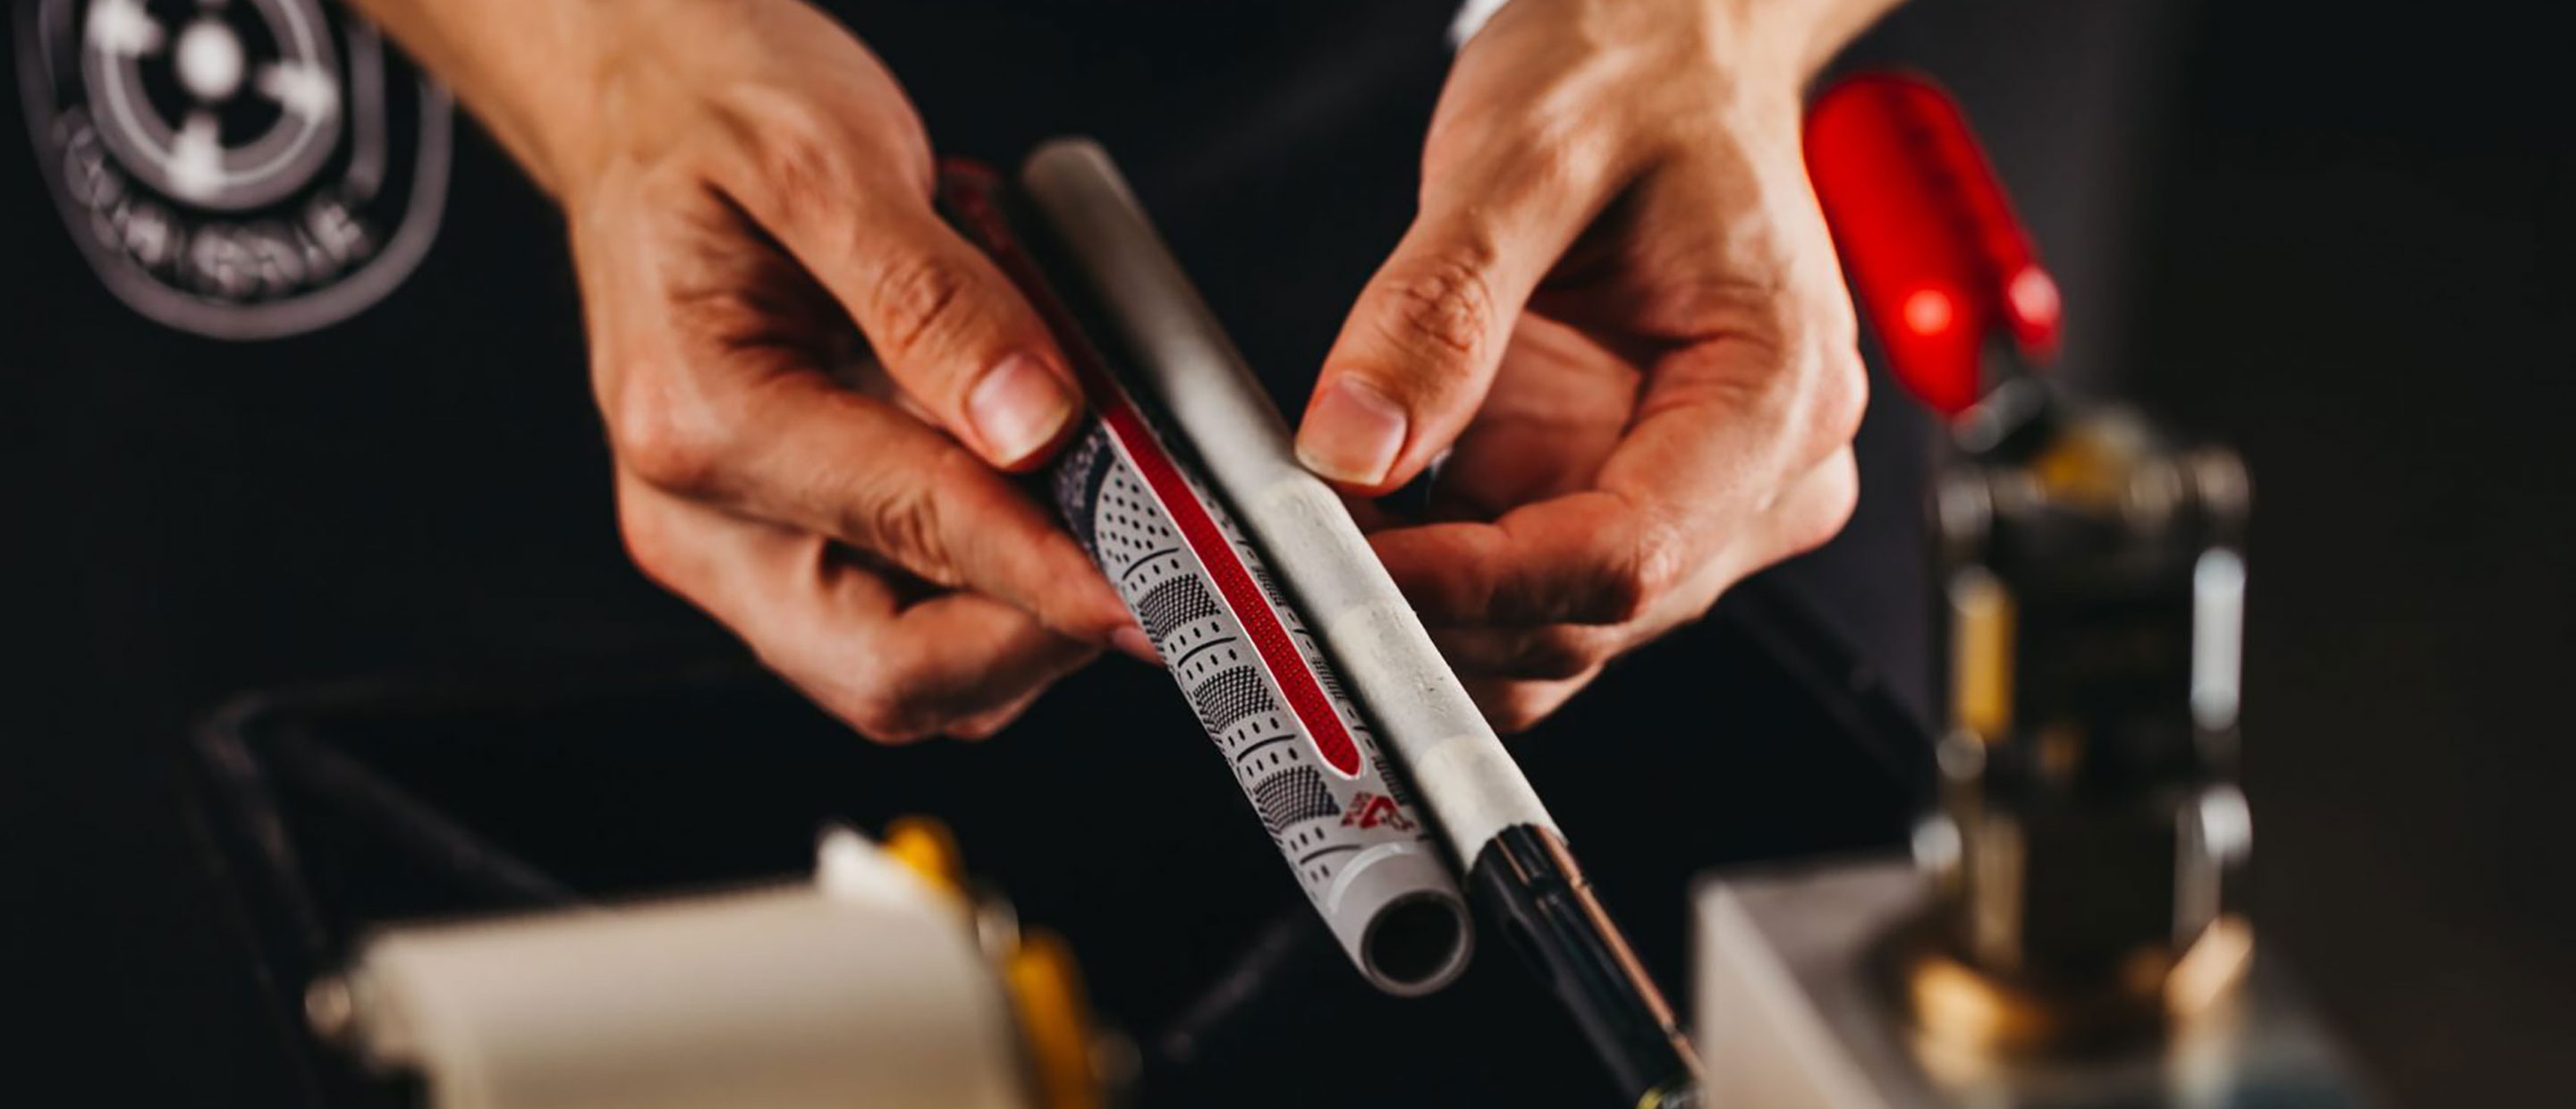
Now, with ALIGN Technology, the process is simplified. Being able to see the raised ridge on the exterior of the grip and getting it perfectly straight doesn’t have to be intimidating. Here are a few tips to help you get your ALIGN grips just right.

infographic showing three installation marks on the front of align grips

Use the installation marks as your guide

The front of every MCC ALIGN and MCC Plus4 ALIGN grip features three ‘tick marks’ – one near the endcap or butt end of the grip, one in the middle where the cord and rubber textures meet, and one near the mouth or opening of the grip. Tour Velvet ALIGN and ZGRIP ALIGN feature two installation marks, one near the butt end and one near the opening.

These offer a visual guide that you can line up square with the leading edge of the club.

michael breed holding mcc plus4 align grip

Remove the club from vise clamp & adjust by hand

On the front of every Golf Pride grip, there are tick marks near the butt end and the mouth of the grip that help to line the grip up properly with the leading edge of your clubhead during installation.

With ALIGN grips, it’s important to take an extra step to ensure the raised ridge is straight. Once you’ve slid the grip onto the shaft, immediately remove the club from the clamp, place the clubhead on the ground, and make any adjustments to the ALIGN ridge before the solvent dries so that it is arrow-straight from top to bottom.

michael breed holding align

Use extra grip solvent & allow extra drying time

Because you’re going to be taking your club out of the clamp and adjusting the grip once it’s been slid on, it’s important to use extra grip solvent to give yourself more time to adjust.

If you use extra grip solvent, we recommend allowing extra time for the solvent to dry before using them. If you try to swing the clubs too soon post-installation, the ALIGN ridge could twist, so give your new grips at least 1-2 hours (preferably even longer if using extra solvent) to fully dry.

ALIGN grips provide a tactile reminder in your hands that ensures a consistent grip and improved clubface awareness from address to impact.

Learn more about ALIGN Technology and shop the ALIGN family – available in four Tour-proven grip models:

Back to Blog

Related Posts

More Posts:
Care & Installation

How to Regrip for Less than $30 with Ethan Welsh

Ethan Welsh developed an affinity for repairing golf clubs while working at a golf shop. He’s taken his love for club work including grip installation to social media and is now helping other golfers learn the ins and outs of re-gripping your golf clubs. We’ve partnered with the rising TikTok star to show just how…
Read More »
Blog Post Categories: