Reverse Taper Installation
Step 1: Remove the old grip
Ideally, you’ll have a Regripping station with a vise, tape, solvent, a hook blade, a trash can or bucket, a heat gun and a towel or rag. If you don’t have a few of these things, that’s okay, we’ll note throughout the video where you can utilize other tools you might have handy.
First, you'll want a clean shaft surface to work from. Remove your old grip by slicing it with a razor or hook blade, making sure to cut away from yourself. Putter grips can be bulkier than swing grips, so you might need more than one cutting motion.
Step 2: Remove the old tape
Then, pull off the old grip to expose the taped shaft. Next, remove the existing tape. A heat gun is the ideal tool to utilize to heat up the old tape and make it easier to remove. A rag and some solvent can help remove any glue residue on the shaft.
Tip: If you don’t have a heat gun, a hair dryer works as well.
Step 3: Secure the club
Once the shaft is completely clean, lock it in a vise or other stable platform.
If you’re working on a table or bench, rest the club as stable as possible and line up the grip at the start as best you can.
Step 4: Measure your double-sided tape
Then, measure a length of double-sided grip tape slightly longer than the new grip.
Step 5: Apply the double-sided tape
Apply the tape, leaving a bit of excess at the end of the shaft. Be sure to smooth any wrinkles that might be felt through the finished grip.
Then, twist the excess tape together and tuck it into the end of the shaft.
Step 6: Pour the solvent
Now you're ready for the new grip. Using your finger to block the vent hole at the end of the grip, pour solvent into the grip. Reverse Taper grips require extra solvent, more so than a swing grip, so don’t be shy.
Roll the grip around to ensure the solvent coats the inside of the grip. Then, apply plenty of solvent to the taped shaft.
Tip: A trash can or empty bucket/container can be used to catch solvent.
Tip: A towel can also be placed on the ground to avoid a mess.
Step 7: Slip on the grip
Slide the grip onto the shaft in one fluid motion. With Reverse Taper, sliding it on in one motion is ideal.
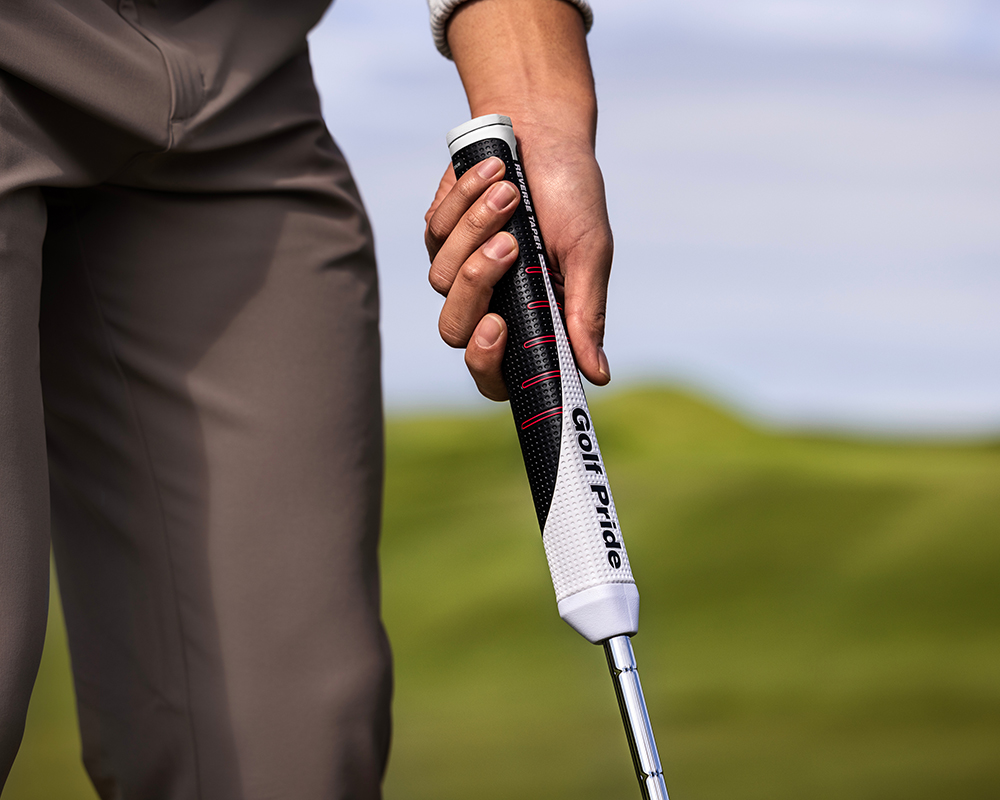
Tip: Check that the top paddle of grip is perpendicular to the leading edge of putter face.
Step 8: Check for adjustments & Last look
Adjust the grip until Golf Pride branding and other visual features are straight and lined up properly.
Aligning the putter face against a square surface will also help check if the grip is square.
Step 9: Clean the grip & let it dry
Finally, wipe off any excess solvent with a clean towel, and let the solvent dry.
Now your club is re-gripped. You’ll want to wait around three to four hours before taking it out on the course.
Keep your new grips fresh longer
Newly installed grips? Learn how to keep your brand new grips fresh longer with our Grip Care Guide.